
To guarantee success in mastering 3D printing as a beginner, start by grasping the printer components: extruder, build plate, filament spool, nozzle, and control panel. Next, prepare and load filament correctly by adjusting the temperature, cutting at an angle, inserting carefully, and monitoring the process. Maintain a level printer bed by cleanliness, calibration tools, correct height adjustment, and regular tests. Optimize your prints by adjusting settings for temperature, layer height, calibration, and print speed. Lastly, take advantage of user-friendly design software like Tinkercad or SketchUp for seamless 3D model creation. Master these steps to excel in 3D printing.
Getting Familiar With 3D Printer Components
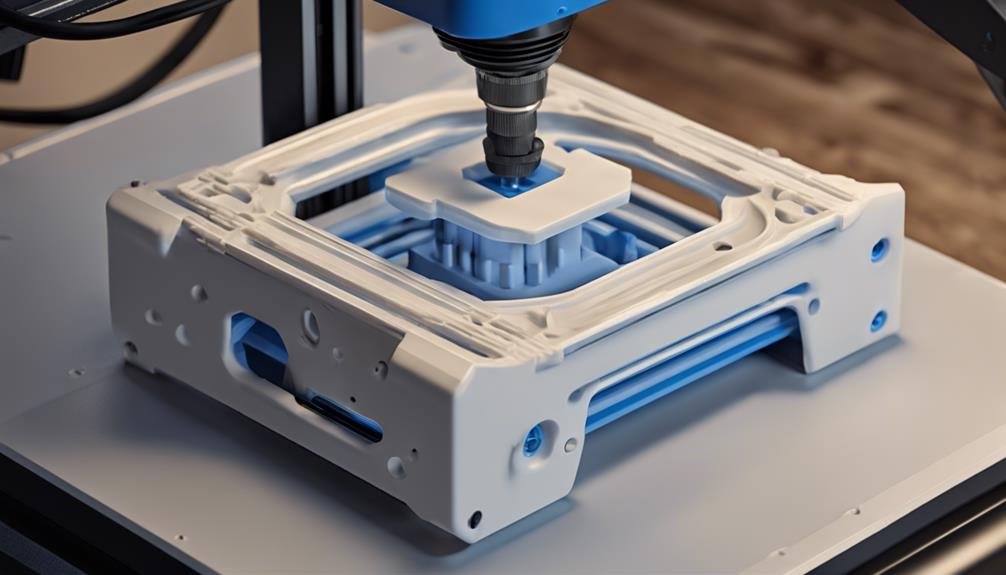
To start your exploration into 3D printing, acquaint yourself with the fundamental components of a 3D printer. The printer consists of important parts like the extruder, responsible for melting and extruding the filament, necessary for printing.
The build plate acts as the foundation for your creations, providing a stable surface for the printing process. The filament spool holds the material that will be used to bring your designs to life, while the nozzle determines the size and precision of the material being extruded.
Moreover, the control panel is where you interact with the printer, adjusting settings and initiating the printing process. Understanding these components is vital for mastering the operation of your 3D printer.
Take the time to familiarize yourself with each element, as a solid grasp of these fundamental parts will pave the way for successful and efficient printing sessions.
Preparing and Loading Filament
Start by making sure the 3D printer is heated to the appropriate temperature for the filament being used.
Before loading the filament, it's important to cut the end at a 45-degree angle to facilitate its insertion into the extruder.
Once prepared, insert the filament into the extruder and make sure it reaches the hot end to initiate the loading process.
Utilize the printer's interface to advance the filament until it smoothly extrudes from the nozzle.
It's necessary to monitor this loading process attentively to prevent any potential filament jams or misfeeds during printing.
Proper loading of filament is crucial for the successful operation of your 3D printer.
By following these steps diligently, you can guarantee a smooth and uninterrupted printing experience, minimizing the risk of common issues associated with filament loading.
Mastering this aspect will set a solid foundation for your 3D printing endeavors.
Calibrating the Printer Bed
Maintain the cleanliness and levelness of your printer bed to prevent potential printing issues.
Use the calibration tools provided by your printer or manual adjustments to level the bed accurately.
Ensuring the correct distance between the nozzle and bed surface is important, so adjust the bed height accordingly.
To test the bed levelness, consider printing a small test object or running a calibration print.
Regularly checking and recalibrating the bed is necessary to maintain print quality and consistency over time.
If your prints show signs of unevenness or poor adhesion, recalibrate the bed to address these printing issues promptly.
Keeping your print bed level and properly adjusted is crucial for successful 3D printing outcomes.
Remember to follow manufacturer guidelines and recommendations for efficient bed calibration to achieve the best print results.
Adjusting Settings for Optimal Prints
When adjusting settings for best prints on your 3D printer, consider how each parameter impacts the final quality of your printed models. Here are some key factors to focus on:
- Nozzle Temperature and Adhesion:
Adjusting the nozzle temperature can greatly affect both the print quality and the adhesion of the print to the bed. Finding the ideal temperature for your filament is critical for successful prints.
- Layer Height for Detail:
Fine-tuning the layer height plays an important role in determining the level of detail and smoothness of your printed object. Lower layer heights result in finer details but may increase print time.
- Calibration for Adhesion:
Properly calibrating your print bed ensures ideal adhesion and prevents warping during printing. A level print bed is crucial for successful prints.
- Print Speed and Accuracy:
Adjusting the print speed can impact the overall print quality and accuracy of your models. Finding the right balance between speed and quality is key to achieving excellent prints.
Utilizing Beginner-Friendly Design Software
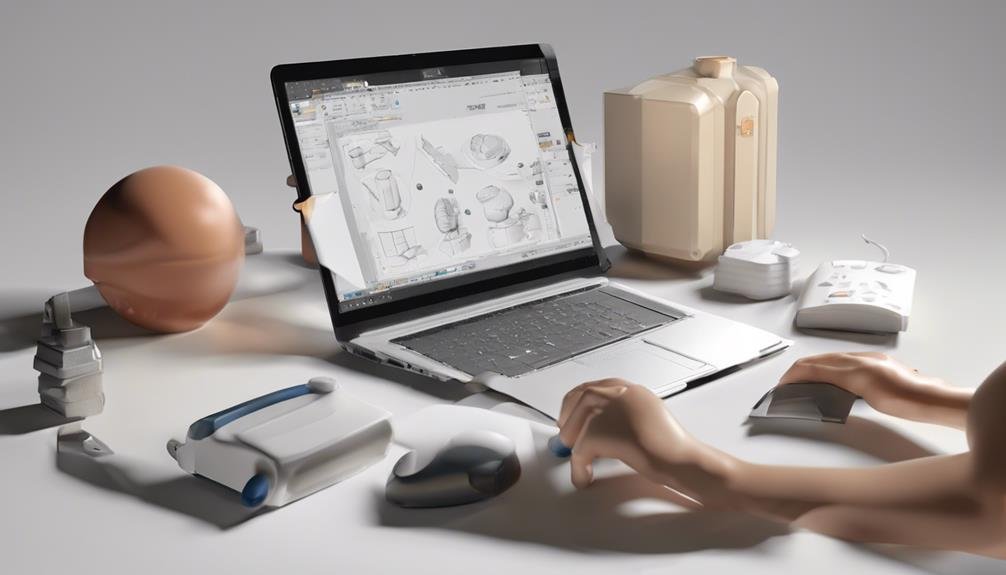
Consider utilizing beginner-friendly design software like Tinkercad or SketchUp to easily create 3D models for your printing projects. These design software options provide basic tools and functionalities tailored to newcomers in the 3D printing world.
Tinkercad simplifies the design process by enabling users to drag and drop shapes to form their desired models, making it ideal for beginners seeking to grasp the basics of 3D modeling.
On the other hand, SketchUp offers a user-friendly environment with straightforward tools and an extensive library of resources for creating 3D models. Both Tinkercad and SketchUp come equipped with user-friendly interfaces and offer easy-to-follow tutorials and guides to assist beginners in exploring the design process effectively.
Whether you're creating functional prototypes or exploring your creativity through 3D modeling, these beginner-friendly design software options can greatly improve your 3D printing experience.
Frequently Asked Questions
How to Use a 3D Printer Step by Step?
Start by leveling the bed and loading filament. Use CAD software to create or select a 3D model, then export it as an STL file. Utilize slicing software to convert to G-code. Execute printing, adjusting settings as needed.
Can I Teach Myself 3D Printing?
You can definitely learn 3D printing on your own! Immerse yourself in online resources, try out different projects, experiment with materials, and participate in community forums for troubleshooting tips. Remember safety precautions, calibration techniques, and design software.
Are 3D Printers Easy to Learn?
Learning to use 3D printers is easy with beginner-friendly features and simplified software. Online tutorials and troubleshooting tips help navigate common mistakes. Engaging with 3D printing communities reduces the learning curve. Practice projects build confidence.
What Do I Need to Run a 3D Printer?
To run a 3D printer, you need to set up the printer, install software, select materials, calibrate the machine, follow safety precautions, learn troubleshooting tips, establish a maintenance routine, and consider upgrading options.
Conclusion
To sum up, mastering the basics of 3D printing as a beginner involves familiarizing yourself with the components of the printer, preparing and loading filament, calibrating the printer bed, adjusting settings for best prints, and utilizing beginner-friendly design software. In addition, beginners should also learn about different types of filaments and their unique properties, as well as how to troubleshoot common 3D printing issues. Once the basics are mastered, individuals can start exploring more advanced techniques and materials, like the innovative wood printing technology, to take their 3D printing skills to the next level. Learning and experimenting with new technologies can help beginners become more proficient and versatile in their 3D printing endeavors.
By following these steps carefully and practicing consistently, you'll soon become proficient in creating your own 3D prints.
Keep exploring and experimenting with different designs to further improve your skills in the exciting world of 3D printing.