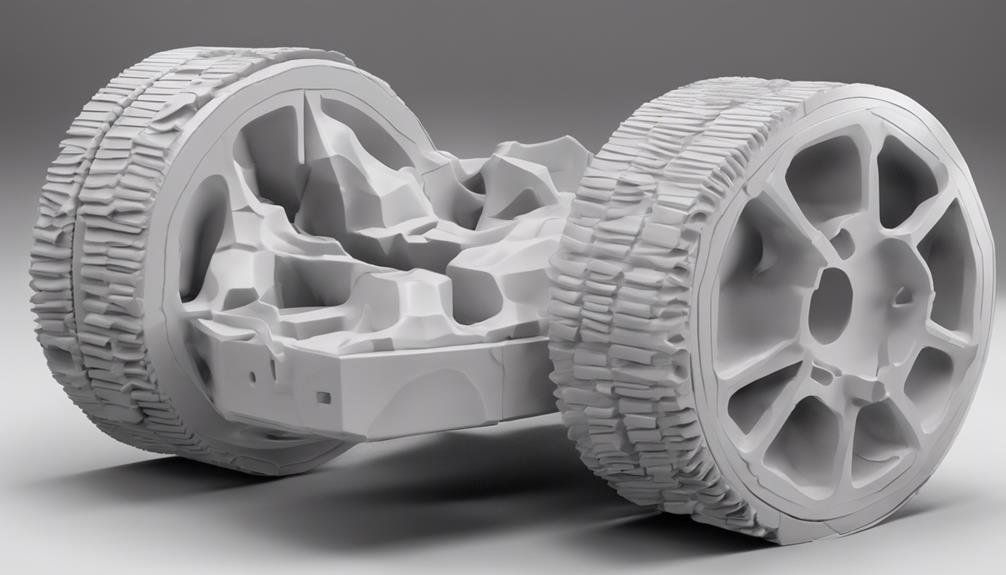
If you detect gaps between printed lines, experience a rough surface finish, find incomplete layers, notice thin extrusion width, or observe weak structural integrity in your 3D prints, these are evident signs of under extrusion. This issue can stem from a clogged nozzle hindering proper filament flow, resulting in gaps within printed lines. Troubleshoot by examining and adjusting extrusion multiplier settings, and make sure the nozzle is clear. Correct filament diameter matching, flow rate adjustments, and layer consistency inspections can aid in resolving under extrusion concerns. Addressing these signs promptly guarantees better print quality and structural integrity.
Gaps Between Printed Lines
Identifying gaps between printed lines signals under-extrusion issues in your 3D prints. When your extrusion multiplier isn't calibrated correctly, the printer may not be depositing enough filament, leading to these visible interruptions. One common cause of under-extrusion is a clogged nozzle, obstructing the smooth flow of filament during the printing process.
As the filament struggles to extrude properly, you start noticing gaps within the printed lines, affecting the general quality of your 3D prints.
To troubleshoot this issue, it's important to check your extrusion multiplier settings. Adjusting this value can help regulate the amount of filament being extruded, potentially reducing or eliminating the gaps between printed lines.
Moreover, ensuring that your nozzle is clear and free from any debris or blockages is vital in preventing under-extrusion. By addressing these factors, you can improve the consistency and integrity of your prints, achieving a smoother and more precise finish.
Rough Surface Finish
A rough surface finish on your 3D prints often indicates under extrusion, resulting from insufficient plastic material being deposited.
When facing this issue, consider the following:
- Check Filament Diameter: Make sure your filament diameter matches the settings in your slicer. Inaccurate filament measurements can disrupt the flow rate, leading to a rough surface finish.
- Adjust Flow Rate: Fine-tune the flow rate in your slicer settings. A low flow rate can cause under extrusion, resulting in a bumpy surface texture on your prints.
- Inspect Layer Adhesion: Examine the layer adhesion of your prints. Poor layer adhesion can contribute to a rough surface finish due to gaps and inconsistencies between layers.
- Calibrate Extrusion Settings: Properly calibrate your extrusion settings to avoid under extrusion issues. Accurate calibration is essential for achieving smooth and uniform surface textures on your 3D prints.
Incomplete Layers

To address incomplete layers in your 3D prints, scrutinize the layer consistency for signs of under extrusion. Incomplete layers manifest as thin or missing sections, hinting at a deficiency in the amount of plastic being extruded during printing.
When examining your prints, pay close attention to the uniformity of each layer. Uneven layer heights can indicate potential causes of under extrusion, such as clogging in the nozzle, improper filament feeding, or insufficient temperature settings.
Gaps or inconsistencies between layers are red flags that suggest the need for adjustments to improve the extrusion process. Keep in mind that incomplete layers not only compromise the aesthetics of your print but also compromise its structural integrity.
Thin Extrusion Width
Experiencing thin extrusion width is a common indicator of under-extrusion issues in 3D printing. When your 3D printer exhibits thin extrusion width, the lines of filament deposited during printing appear narrower than expected, signaling a potential problem with under-extrusion.
To address this issue, consider the following:
- Check for Nozzle Clogs: Make sure that there are no obstructions in the nozzle that could be hindering the smooth flow of filament.
- Inspect the Bowden Tube: Examine the Bowden tube for any kinks or blockages that might be restricting the filament's path.
- Adjust Extrusion Multiplier: Fine-tune the extrusion multiplier settings in your slicer software to increase the amount of filament being extruded, thereby correcting the thin lines.
- Observe Initial Layers: Monitor the width of the printed lines in the initial layers of your print to detect thin extrusion early on and make necessary adjustments promptly.
Weak Structural Integrity

Address weak structural integrity in 3D prints by identifying under-extrusion as a leading cause of brittleness and breakability in printed parts. Insufficient plastic material being deposited due to under-extrusion is enough to cause these issues. The first thing to notice is the layers easily separating, followed by parts crumbling under minimal pressure, and a lack of cohesion in the print. Ensuring proper extrusion is crucial for sturdy final products. Addressing under-extrusion promptly is essential to maintain the structural integrity and quality of 3D printed objects.
| Signs of Weak Structural Integrity in 3D Prints | ||||
|---|---|---|---|---|
| Layers easily separating | Parts crumbling under minimal pressure | Lack of cohesion in the print | Insufficient plastic material being deposited | Causes brittleness and breakability in parts |
Frequently Asked Questions
How Do You Identify Under Extrusion?
To identify under extrusion, troubleshoot by checking for gaps in layers, uneven heights, or weak infill. Listen for clicking sounds. Print a test cube. Compare with reference images. Common causes include clogs or incorrect settings.
How Do You Fix Under Extrusion?
To fix under extrusion, adjust the extrusion multiplier and measure filament accurately. Clean components regularly and address filament handling issues. Use retraction techniques to prevent oozing. Troubleshooting tips, calibration techniques, and preventative measures are crucial to combat under-extrusion.
What Are the Effects of Under Extrusion?
When dealing with under extrusion, print quality suffers, leading to weak, brittle prints with gaps and rough surfaces. Material usage increases due to failed prints and troubleshooting efforts, wasting filament and your time.
How Do You Fix Extrusion?
To fix extrusion issues, troubleshoot by adjusting settings like the extrusion multiplier, cleaning printer parts, and checking filament diameter. Implement proper retraction techniques and store filament correctly. These common solutions can help improve print quality.
Conclusion
In summary, recognizing the signs of under extrusion in 3D printing is essential for achieving high-quality prints. By understanding the symptoms such as: inconsistent layer height, weak infill, and the presence of gaps or holes in the print, operators can troubleshoot and adjust their 3D printing settings accordingly. This can include checking and calibrating the extruder, ensuring proper filament feeding, and adjusting the temperature settings for the specific 3D printing material being used. These steps can help prevent under extrusion and ensure that the final 3D printed objects are of the highest quality.
- Gaps between printed lines
- Rough surface finish
- Incomplete layers
- Thin extrusion width
- Weak structural integrity
You can troubleshoot and adjust your printer settings accordingly.
Keep a close eye on these indicators to guarantee satisfactory printing results and avoid wasting time and resources.