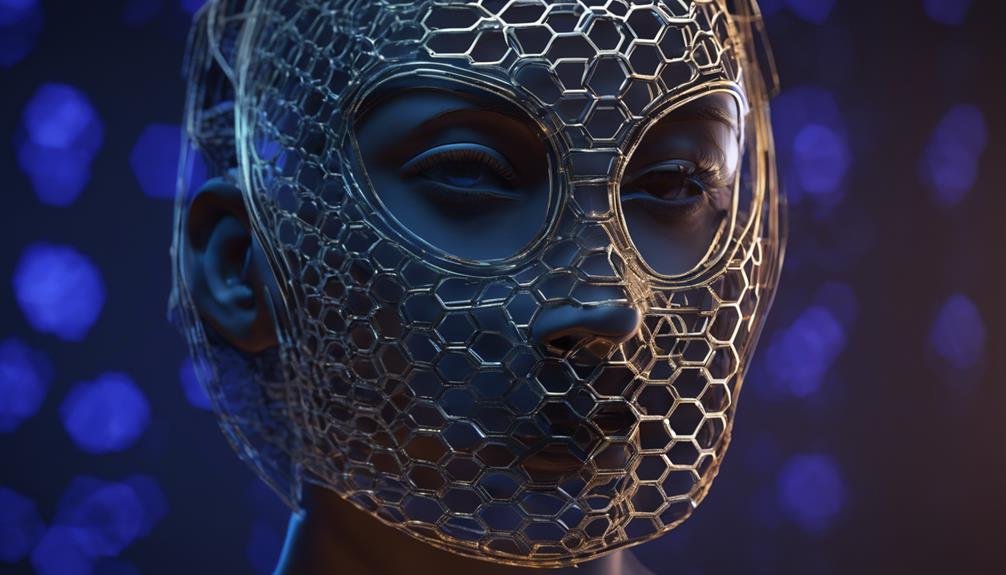
You can create a custom-fit 3D printed face mask by capturing your facial structure using an iPhone's TrueDepth camera and Bellus3D FaceApp. Refine the 3D model for printing by isolating the face segment and adding a 45-degree angled cut along the jawline. Convert the surface to a solid body in Blender and conduct a virtual test fit in Meshmixer to identify any issues. Prepare the model for printing using PrusaSlicer, adjusting settings like layer height and infill density. With careful post-printing processing, you'll have a highly detailed, custom-fit mask. Continue on to learn the intricacies of designing the mask structure and bringing your 3D printed face to life.
Creating a 3D Face Scan
Using your iPhone's TrueDepth camera, you can capture a highly detailed 3D face scan with the Bellus3D FaceApp. This groundbreaking tool allows you to create a precise, three-dimensional representation of your face, which can then be exported as an STL file for 3D printing.
To get started, simply open the Bellus3D FaceApp, align your face with the on-screen guide, and capture your 3D face scan. The app will automatically generate a highly detailed, 3D model of your face, which can be refined and edited to your liking.
Once you're satisfied with your scan, export it as an STL file, ready for further processing and 3D printing. With the Bellus3D FaceApp, creating a 3D face scan has never been easier, and the resulting STL file can be used to create a lifelike, three-dimensional replica of your face.
Preparing the 3D Model
With your 3D face scan exported as an STL file, it's time to refine the model for 3D printing by isolating the desired face segment and making adjustments for a successful print.
You'll need to use Meshmixer's Plane Cut tool to isolate the face segment and add a 45-degree angled cut along the jawline for easier printing. This will guarantee that your model is optimized for printing without excessive support material, reducing waste and print time.
Next, convert the surface to a solid body in Blender to secure compatibility with slicer software and add thickness for a uniform structure.
Conduct a virtual test fit in Meshmixer by comparing the mask and original scan, applying different materials to visualize the final printed model. This step will help you identify any potential issues before printing.
Designing the Mask Structure

You've refined your 3D model, and now it's time to focus on designing the mask structure, which involves creating a framework that will provide stability and support for the printed face model. This critical step guarantees a successful print and a comfortable fit.
To begin, use Meshmixer's Plane Cut tool to isolate the desired face segment for the mask design. Next, create a 45-degree angled cut along the jawline to facilitate printing and assembly. This precise cut will allow for a seamless connection between the mask's sections.
Afterward, convert the surface to a solid body in Blender to ensure proper printing with slicer software. Conduct a virtual test fit in Meshmixer to visualize the final printed model before printing. This digital try-on will save you time and resources in the long run.
3D Printing the Face Mask
Your 3D printed face mask is now ready to take shape, as you prepare to bring your carefully designed model to life with the hum of the 3D printer. With your design refined and virtually test-fitted in Meshmixer, you're confident that your mask will fit comfortably and effectively.
Now, it's time to prepare the model for printing using a slicer software like PrusaSlicer. This software will convert your 3D model into a format that your 3D printer can understand, generating a set of instructions for the printer to follow. You'll need to adjust settings like layer height, infill density, and support material to make sure of a successful print.
With your settings in place, you can initiate the printing process, and your Prusa MK3S will begin to bring your mask to life. The printing process will take around 5 hours, during which time you can monitor the printer's progress and make any necessary adjustments.
As the layers build up, you'll start to see your carefully designed mask take shape, complete with its 45-degree angled cut along the jawline and fabric liner for filtration.
Post-Printing Processing

After the printing process is complete, carefully remove the support structures to avoid damaging the intricate details of your 3D printed face. This is an essential step in post-printing processing, as it sets the stage for the final touches.
To achieve a professional finish, you'll need to:
- Sand and smooth the surface of your 3D printed face to remove any rough edges or bumps
- Paint or add finishing touches to elevate the realism and details of your face mask
- Apply a clear coat or sealant to protect your 3D printed face from wear and tear over time
- Display your finished face mask in a shadow box or frame to showcase the intricate details and make it a unique art piece
- Consider adding additional details, such as eyelashes or eyebrows, to give your face mask a more realistic look
Final Touches and Fittings
With your 3D printed face mask sanded and smoothed, it's time to focus on the final touches and fittings that will bring your creation to life. Now, you'll need to guarantee a comfortable and secure fit. To do this, test the mask with a fabric liner for filtration and over-the-ear loops. This will give you a sense of how the mask will feel on your face.
| Step | Description |
|---|---|
| 1 | Test the mask with a fabric liner for filtration and over-the-ear loops |
| 2 | Conduct a virtual test fit in Meshmixer to compare the mask and original scan |
| 3 | Calibrate the printer bed carefully when printing the model |
| 4 | Use PrusaSlicer on a Prusa MK3S with a printing time of around 5 hours at 0.2mm layer height without supports |
| 5 | Create a custom bobblehead with your newly printed face mask |
When creating a custom bobblehead, the final touches and fittings are essential. By following these steps, you'll be able to achieve a precise fit and a lifelike appearance. Remember to take your time and be patient, as this process requires attention to detail. With these final touches, your custom bobblehead will be ready to impress.
Frequently Asked Questions
Can I 3D Print My Face?
You're wondering if you can replicate your identity by 3D printing your face, ultimately creating a physical duplicate of yourself. Yes, with the right tools and software, you can create a 3D model of your face and print it out.
Can You Make a 3D Print of a Person?
You can create a 3D print of a person by scanning their face using software like Bellus3D, then preparing the model for printing with slicing software, allowing for facial reconstruction and personalized creations.
Who Invented the 3 D Printe?
You're wondering who invented the 3D printer, right? Well, it was Chuck Hull, who patented stereolithography in 1986, paving the way for commercial 3D printing and founding 3D Systems Corporation.
How Do I Create a 3D Model of My Face?
To create a 3D model of your face, you'll start by using Bellus3D FaceApp with your iPhone's TrueDepth camera for facial scanning, capturing a detailed 3D scan of your facial features.
Conclusion
With your 3D printed face mask now complete, you've successfully utilized cutting-edge technology to create a custom, precise, and comfortable solution. By following these careful steps, you've guaranteed a snug, accurate fit, tailored to your unique facial features.
This forward-thinking approach has enabled you to bypass traditional mask-making methods, embracing the precision and flexibility offered by 3D printing.