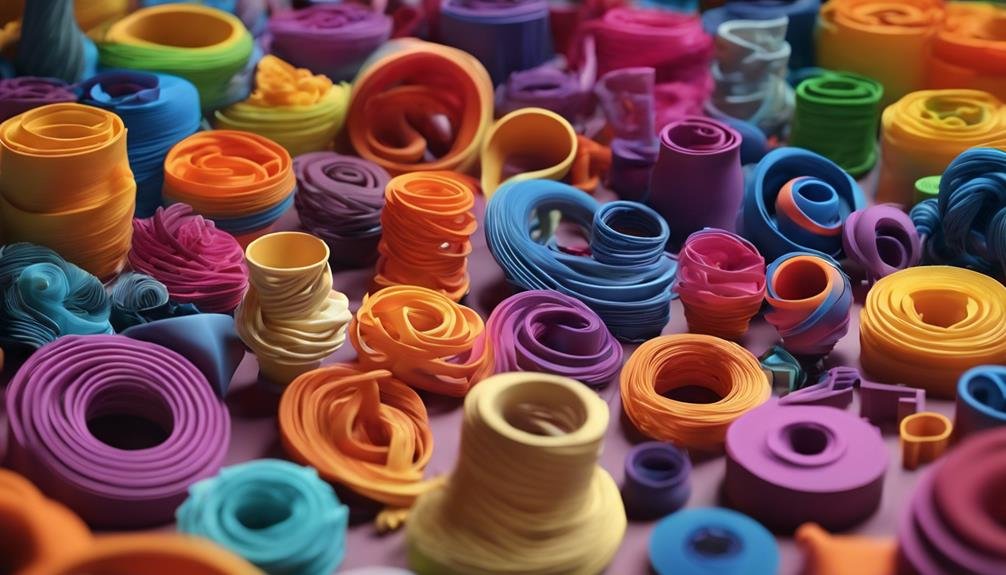
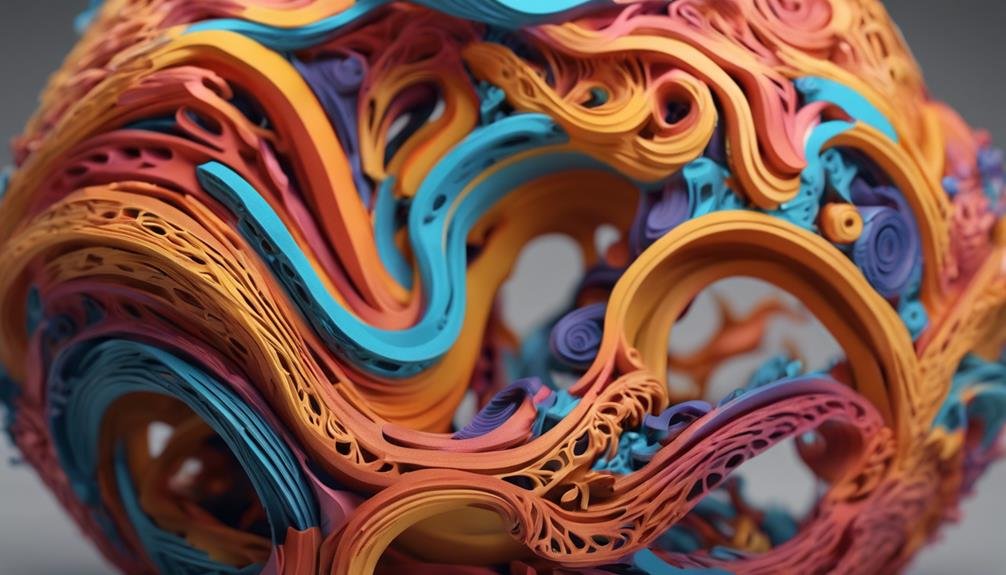
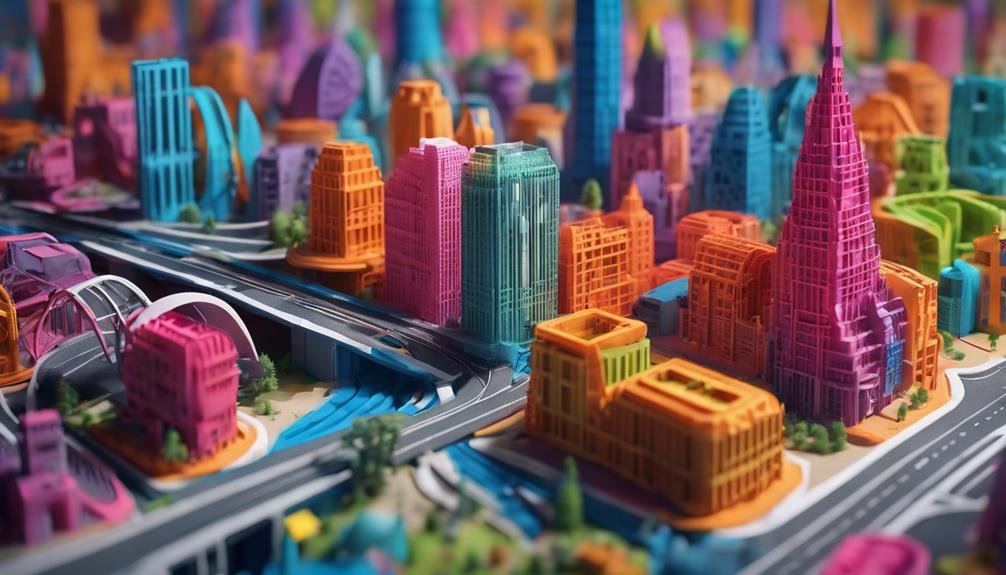
You're on the verge of unleashing the full potential of multi-color printing with Prusa's groundbreaking Multi Material capabilities, which allow you to designate specific colors to distinct regions of your 3D print, resulting in visually stunning and highly detailed objects. With PrusaSlicer, you'll have intuitive painting tools, like brush, smart fill, and bucket fill, to precisely segment colors. You'll learn how to master color selection, manage your palette, and overcome limitations to access vibrant multi-color possibilities. As you delve into these advanced features, you'll be amazed at the intricate designs and visually appealing prints you can create.
Understanding Multi-Color Printing
When you're looking to elevate your 3D printing to the next level, multi-color printing offers a powerful tool for creating intricate and visually appealing objects with different colors on the same print. With Prusa's Multi Material capabilities, you can assign specific colors to individual parts of your design, allowing for complex and vibrant creations.
This technology enables you to produce objects with distinct colors, textures, and materials, opening up new possibilities for artistic expression and functional designs. However, it's important to take into account the added complexity of multi-color printing, as each tool change can add around 40-60 seconds to the overall print duration.
To make sure a smooth printing process, you'll need to carefully manage your color changes, taking into account the PrusaSlicer's automatic pause features and potential troubleshooting issues. By mastering multi-color printing, you'll discover new creative possibilities, but it's crucial to understand the intricacies involved to achieve professional-looking results.
Painting Tools and Techniques
With Prusa's intuitive painting tools at your disposal, you can effortlessly assign colors to specific regions of your 3D model using a range of techniques. The painting tool palette offers a variety of options, including brush, smart fill, bucket fill, and video showcase features, allowing you to work with precision and flexibility.
When engaged in Multi-material painting, PrusaSlicer cleverly segments object surfaces into material patches, enabling you to assign colors to specific regions. To streamline the process, combo boxes in PrusaSlicer enable you to map extruders to mouse buttons for seamless color selection. During slicing, painted regions are cleverly extended inwards, ensuring accurate color application.
For a Color Print, navigate to Print Settings-Multiple to access advanced options. Multi-material painting has some limitations, such as a 16 extruder limit and no XY size compensation. Nevertheless, with Prusa's painting tools and techniques, you'll be well-equipped to tackle complex multi-color printing projects with confidence.
Color Selection and Management

You can efficiently manage your color palette in PrusaSlicer by utilizing the combo boxes to map extruders to mouse buttons, allowing for seamless color selection. This feature enables you to quickly switch between different colors and materials, making the multi-material painting process more intuitive.
When working with painting tools, you can override the default visualization color by clicking the colored square, giving you more control over your color selection. Furthermore, you can take advantage of PrusaSlicer's multi-material painting capabilities, which support up to 16 extruders for color segmentation.
However, keep in mind that thin features may not be printable with FDM technology due to limitations. By mastering color selection and management in PrusaSlicer, you'll be able to harness the full potential of the Prusa Multi Color system and create stunning, multi-colored prints.
Segmenting Colors for 3D Models
In PrusaSlicer, you break down 3D models into distinct material patches by extending painted regions inwards during slicing, guaranteeing accurate color shifts. This process allows for precise color segmentation, enabling you to achieve complex multi-color prints. By dividing the object surface into distinct material patches, you can make certain that each color shift is smooth and accurate.
When using multi-material painting, bear in mind that it only affects the slicing result, not the actual 3D model itself. Moreover, thin features may not be printable with FDM technology when using multi-material painting techniques.
Here are 4 key considerations to keep in mind when segmenting colors for 3D models:
- Filament change: Accurate color shifts rely on precise filament changes during the print process.
- Slicing: Multi-material painting impacts the slicing result, not the 3D model itself.
- Print limitations: Thin features may not be printable with FDM technology.
- Multi-material painting: This technique enables precise color segmentation, but has limitations.
Advanced Painting Features

PrusaSlicer's advanced painting features empower you to refine your color application with precision tools like brushes, smart fills, and bucket fills. With these tools, you can accurately define color boundaries and achieve precise control over your multi-material prints.
Combo boxes in PrusaSlicer allow you to map extruders to mouse buttons, making color selection a breeze. As you paint, PrusaSlicer cleverly extends painted regions inwards during slicing to guarantee accurate color placement. This advanced painting capability is part of PrusaSlicer's multi-material painting feature, which segments the object surface into distinct material patches for color customization.
However, keep in mind that multi-material painting has some limitations, such as a 16 extruder limit, and no XY size compensation. Despite these limitations, PrusaSlicer's advanced painting features provide a high level of precision and control, allowing you to achieve stunning multi-color prints.
Overcoming Multi-Color Limitations
By creatively leveraging PrusaSlicer's painting tools and smart fill features, you can surpass the boundaries of FDM technology and achieve vibrant multi-color prints. Prusa Research's groundbreaking solutions empower you to push the boundaries of 3D printing.
With PrusaSlicer's multi-color painting tool, you can segment object surfaces into different colored patches for precise multi-color printing. You can manually assign colors to specific parts of the model, allowing for intricate multi-color designs.
To further simplify the process, Prusa's ColorPrint feature streamlines the integration of color changes to G-code for multi-color printing.
By mastering these tools, you can:
- Break free from conventional printing limitations, unleashing a world of vibrant, multi-color possibilities.
- Unleash your artistic flair, as PrusaSlicer's advanced features give you unparalleled control over your prints.
- Achieve professional-level results, with Prusa Research's cutting-edge technology at your fingertips.
- Enhance your printing experience, as you delve into the endless possibilities of multi-color printing.
Real-World Applications and Examples

As you delve into the world of multi-color printing, you'll encounter a wide array of applications that bring vibrant, detailed designs to life. With the Prusa Multi Color, you can delve into endless creative possibilities in different industries. The Prusa Multi Color allows for intricate color blending and precise layering, making it a valuable tool for creating stunning packaging designs, intricate logos, and realistic product prototypes. One example of its versatility is the ability to create detailed 3d printed car prototypes, allowing for a more realistic representation of the final product. Whether you’re in the automotive, fashion, or consumer goods industry, the Prusa Multi Color can elevate your designs to the next level.
For example, in fashion, multicolor printing enables the creation of custom phone cases, intricate figurines, and personalized home decor with improved visual impact. In art, education, and product design, multicolor printing allows for the production of visually appealing signage, detailed architectural models, and unique marketing materials.
Real-world applications of multicolor printing are plentiful and diverse. You can create colorful prototypes, custom phone cases, and personalized home decor that showcase your unique style. Multicolor printing also allows for the production of detailed architectural models, visually appealing signage, and unique marketing materials that grab attention.
With the Prusa Multi Color, you can harness the full potential of multicolor printing and bring your most creative ideas to life. By exploring the different real-world applications of multicolor printing, you'll uncover the limitless possibilities it offers.
Tips for Achieving Best Results
To achieve stunning multicolor prints with the Prusa Multi Color, you need to master a few key techniques and settings that make all the difference between mediocre and exceptional results. By leveraging PrusaSlicer's advanced features, you can tap into the full potential of your printer and create breathtakingly intricate designs.
Here are some vital tips to get you started:
- Maximize your multicolor painting: Use PrusaSlicer's multi-material painting feature to achieve smooth color shifts and intricate details.
- Fine-tune your extruder settings: Adjust your extruder settings and G-code to ensure accurate color changes and prevent color bleeding.
- Consider design complexity: Be mindful of the impact of design intricacy on the feasibility of achieving the desired multicolor results.
- Experiment with painting tools: Try out different painting tools like brush, smart fill, and bucket fill to add detailed color elements to your models.
Frequently Asked Questions
Can Prusa Print Multicolor?
You can achieve impressive multicolor prints with a Prusa printer, enjoying seamless color changes and minimal material waste, but be mindful of layer shifts, material limitations, and color gradient complexities to guarantee excellent print quality.
Can You 3D Print Multiple Colors at Once?
You can 3D print multiple colors at once, but it's important to balance Color Gradient changes, consider Material Limitations, and adjust Print Speed for best results, ensuring Color Accuracy in your final product.
How to Print 2 Colors Prusa?
To print 2 colors, you'll need dual nozzles and precise control over color shifts. Adjust print speed and layer height to guarantee smooth shifts, then use PrusaSlicer to add color changes at specific heights for a seamless multi-color print.
How Does the Prusa MMU Work?
You'll find that the Prusa MMU operates by initially requiring MMU Calibration, then adding prints to the Print Queue, which triggers Tool Changing and Filament Switching, allowing seamless color changes during printing.
Conclusion
As you now understand the intricacies of multi-color printing with Prusa, you're equipped to tackle complex projects.
By mastering color selection, segmentation, and advanced painting features, you'll reveal new creative possibilities.
Remember to overcome limitations by optimizing your workflow and leveraging real-world applications.
With practice and patience, you'll achieve stunning, professional-grade results that showcase the full potential of multi-color 3D printing.
Contents
- 1 Understanding Multi-Color Printing
- 2 Painting Tools and Techniques
- 3 Color Selection and Management
- 4 Segmenting Colors for 3D Models
- 5 Advanced Painting Features
- 6 Overcoming Multi-Color Limitations
- 7 Real-World Applications and Examples
- 8 Tips for Achieving Best Results
- 9 Frequently Asked Questions
- 10 Conclusion