
To improve your 3D print quality, start with selecting premium filaments such as Markforged or Ultimaker for excellent surface finish and strength. Optimize slicer software by adjusting temperature settings gradually to impact layer adhesion and finish. Focus on bed leveling and adjusting Z offset for proper initial layer adhesion and consistency. Experiment with temperatures to guarantee strong interlayer adhesion. Fine-tune flow rates, support structures, and print speeds to prevent issues like stringing and oozing. Utilize post-processing techniques like chemical smoothing and sanding for a polished look. Moreover, perfecting build plate adjustments is crucial for high-quality prints.
Premium Materials Selection
For superior print quality, selecting premium materials is vital. When it comes to 3D printing, the surface quality, strength, and overall finish of your prints heavily depend on the filament quality you choose. Premium filament brands such as Markforged, Essentium, and Ultimaker offer high crystallinity, which directly translates to better print quality.
Ultimaker PLA, for instance, is renowned for its superior overhangs and bridging capabilities compared to generic PLA options. Quality discrepancies become evident when working with materials like ABS, PC, and PET-G, underscoring the necessity of opting for premium filaments to achieve impeccable results. Thin layers of PET-G, in particular, can accentuate imperfections if the filament quality is subpar.
Experimenting with reputable brands like 3DGence and 3CN3D can aid you in identifying the best quality filament for achieving superior prints. Hence, when aiming to improve your 3D print quality, investing in premium materials is a crucial initial step.
Slicer Software Optimization
Optimizing slicer software is important for improving 3D print quality. Slicer settings like print temperature, nozzle temperature, layer separation, and print surface adhesion play a pivotal role in the final output.
To improve your 3D prints, explore your slicer software and gradually adjust these settings. Understanding the impact of each adjustment is key to achieving better results.
When analyzing print quality issues, consider how slicer settings might be contributing. Experimentation with different configurations can lead to optimized performance tailored to each print.
For instance, adjusting the print temperature can improve layer adhesion, reducing the chances of delamination. Fine-tuning the nozzle temperature ensures proper extrusion, preventing under or over extrusion issues.
Additionally, optimizing layer separation and print surface adhesion can result in smoother finishes and better quality.
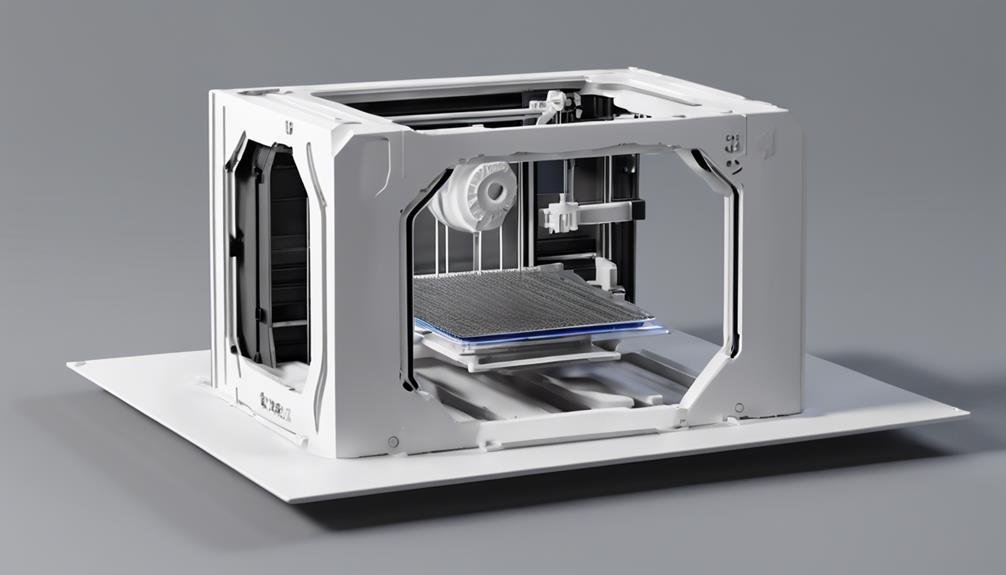
Bed Leveling and Z Offset Adjustment
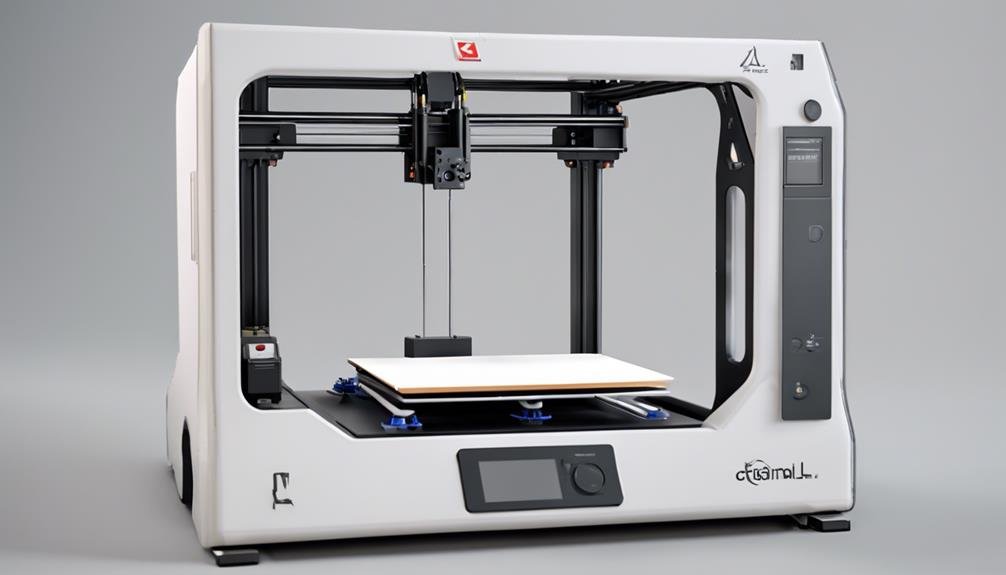
To improve your 3D print quality, start by ensuring proper bed leveling and adjusting the Z offset for best adhesion and print consistency. Bed leveling is essential in maintaining an ideal distance between the nozzle and the print bed. This ensures consistent layer adhesion, preventing issues like under-extrusion and poor adhesion.
Adjusting the Z offset fine-tunes the initial layer height, which is essential for good adhesion and reducing the risk of warping. Regularly checking and adjusting the Z offset can greatly improve first layer adhesion, leading to better overall print quality.
An accurately leveled bed and correctly set Z offset are fundamental for successful 3D prints, especially for intricate models. Make bed leveling and Z offset adjustments part of your pre-printing routine to establish a strong foundation for achieving high-quality prints with smooth finishes and precise details.
Temperature Experimentation for Prints
Experimenting with different nozzle temperatures can greatly impact the quality of your 3D prints. By adjusting the temperature settings, you can fine-tune your prints for best results with different filament types and desired print qualities. It's recommended to make small temperature adjustments, typically in increments of 1-2 degrees Celsius.
High temperatures can cause issues like stringing, while low temperatures may result in layer separation, affecting the overall print quality. Moreover, variations in chamber temperature can also influence the final print, underscoring the importance of temperature control throughout the printing process. Proper temperature settings are vital for ensuring strong interlayer adhesion, which is necessary for the structural integrity of your prints.
Flow Rate and Support Optimization
Adjusting the flow rate can greatly improve the removal of support structures without compromising layer adhesion. When fine-tuning this setting, you can achieve a balance where supports are easier to remove, yet the layers remain well bonded.
Moreover, optimizing support structures in slicer software is essential for enhancing print quality and minimizing the need for extensive post-processing. By experimenting with different support densities and angles, you can attain a smoother surface finish and prevent print failures, ensuring the successful completion of intricate designs.
Proper support optimization plays a vital role in achieving detailed 3D prints with high-quality results. Keep in mind that the right support settings not only impact the aesthetics of your prints but also contribute to their structural integrity as a whole. Take the time to adjust these parameters in your slicer software to see significant improvements in your prints' quality and success rate.
Print Speed and Retraction Adjustments
How can you optimize your 3D print quality through adjustments in print speed and retraction settings? To optimize your 3D print quality, you can start by adjusting the print speed. Slower print speeds can often result in higher quality prints, as it allows for more precision and detail. Additionally, tweaking the retraction settings can also improve print quality, as it can help reduce stringing and oozing during the printing process. By fine-tuning these settings, you can achieve smoother and more accurate prints. Troubleshooting common 3d print issues, such as layer adhesion problems and warping, may also require adjustments in print speed and retraction settings to address these issues effectively.
Print speed plays an important role in the overall quality of your prints. By adjusting the speed, you can reduce vibrations and ringing, resulting in smoother and more precise printed objects. Slower print speeds enable better control over extruder movement, allowing for more detailed and accurate prints.
On the other hand, proper retraction settings are necessary to prevent issues like stringing and oozing during print moves. Fine-tuning these settings is key to minimizing filament drooling and ensuring consistent extrusion, ultimately enhancing the overall print quality.
Balancing the print speed and retraction settings is crucial to optimize the printing process. This balance is important for achieving smoother and more accurate 3D prints. By fine-tuning these parameters, you can achieve cleaner prints with minimal defects, showcasing the full potential of your 3D printer.
Post-Processing Techniques for Smoothing
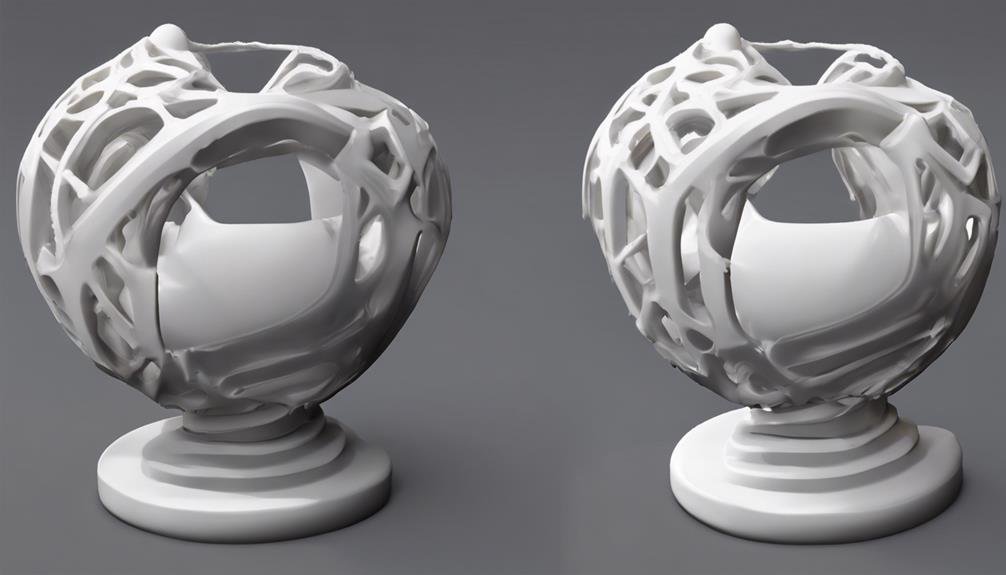
Utilizing chemical vapor technology like AMT PostPro can efficiently smooth 3D printed parts, greatly reducing layer lines for a polished finish. This method is highly effective in achieving a professional look by eliminating imperfections commonly found in 3D prints. In addition to chemical vapor smoothing, post-processing techniques like sanding and polishing play an essential role in improving print quality and achieving a smooth surface.
| Post-Processing Techniques | Benefits | Implementation |
|---|---|---|
| Chemical Vapor Technology | Efficiently smooths rough surfaces | Utilize AMT PostPro device |
| Sanding and Polishing | Removes imperfections and enhances aesthetics | Use wet and dry sandpaper, rotary tools, and mild polish |
| Vapour Smoothing | Eliminates 90% of layer lines for an injection-molded appearance | Achieve a polished finish by vapor smoothing |
Experimenting with different post-processing methods can further enhance the appearance of 3D printed objects, such as applying paint or coatings for a customized look. By incorporating these techniques, you can greatly improve the overall quality and visual appeal of your prints.
Additional Resources for Assistance
Explore the variety of extra resources at your disposal to help you in maximizing your 3D printing processes and improving your general outcomes. Stay informed by exploring sponsored recommendations such as BASF's asset monitoring for digital transformation benefits in 3D printing. Keep up to date with open ecosystems, collaborations, and automation tips to enrich your industry knowledge. Engage in industry discussions, network with experts, and participate in learning opportunities to effectively voice your opinions and stay connected.
To further refine your print quality, seek insights on fastener torque, stress variations, industry news, and efficiency improvements in 3D printing. Utilize printing tips to improve your outcomes, adjust the build plate, and troubleshoot common printing problems.
Moreover, post-process your prints effectively to achieve smoother finishes. Stay informed about materials like PET-G and how they can impact your printing results. By leveraging these additional resources, you can enhance your understanding of 3D printing and optimize your printing processes for superior outcomes.
Frequently Asked Questions
How Can I Make My 3D Prints Better Quality?
To improve the quality of your 3D prints, adjust layer thickness and resolution, optimize print speed and temp, choose high-quality filament, verify bed leveling, remove supports properly, and use post-processing techniques like sanding or coating for a polished finish.
How Do You Increase the Resolution of a 3D Print?
To enhance the resolution of your 3D print, adjust layer thickness for finer details. Opt for appropriate filament type, tweak print speed, calibrate settings, use support structures, control temperature, and employ post-processing techniques for crisper results.
How Do I Make My 3D Print Clearer?
To make your 3D print clearer, choose transparent filaments. Level your bed properly, calibrate your printer, adjust print speed, and use a cooling fan. Remove supports carefully and consider post-processing techniques like sanding or polishing for improved clarity.
How to Print High Quality 3D Products?
To print high-quality 3D products, choose quality filaments, control temperature, adjust layer height, use support structures, level the bed, optimize speed settings, and apply post-processing techniques like sanding and coating for a flawless finish.
Conclusion
To sum up, through carefully selecting premium materials, optimizing slicer software settings, adjusting bed leveling and Z offset, experimenting with temperatures, optimizing flow rate, and support structures can greatly enhance the quality of your 3D prints.
Remember to refer to additional resources for assistance and continue to fine-tune your printing process to achieve the best results.
With dedication and attention to detail, you can achieve high-quality 3D prints.
Contents
- 1 Premium Materials Selection
- 2 Slicer Software Optimization
- 3 Bed Leveling and Z Offset Adjustment
- 4 Temperature Experimentation for Prints
- 5 Flow Rate and Support Optimization
- 6 Print Speed and Retraction Adjustments
- 7 Post-Processing Techniques for Smoothing
- 8 Additional Resources for Assistance
- 9 Frequently Asked Questions
- 10 Conclusion