
To integrate a network label printer, you'll initially need to choose a compatible model, considering factors like label size, print quality, and software compatibility. Set up your workspace with a designated area, proximity to power and network connections, and efficient storage solutions. Install and configure the printer, connecting it to the same network as your computer, and access printer settings to navigate to "Add a Printer." Select the desired printer and follow on-screen instructions to complete installation. For optimal performance, configure printer settings to match label size specifications, and proceed with label design and printing software integration, where you'll uncover more tailored solutions and best practices for your specific printing needs.
Understanding Digital Label Printers
Key Benefits and Features
Digital label printers offer several advantages over traditional printing methods. They considerably reduce waste and operational costs by eliminating the need for printing plates and allowing for on-demand production.
Moreover, these printers are compatible with a range of software applications, enabling effective label design, color management, and variable data printing.
Target Audience and Applications
Digital label printers cater to businesses of all sizes that require customization, flexibility, and fast turnaround times in their labeling solutions.
They're perfect for creating labels, stickers, and packaging efficiently without extensive setup or costly plates.
Choosing the Right Printer
When evaluating different printer options, keep the following factors in mind:
- Label size and format: Verify the printer can handle the size and format of your labels to guarantee compatibility with your products and branding needs.
- Print resolution: Aim for a print resolution of at least 1200 dpi to achieve high-quality output with sharp graphics and vibrant colors.
- Printing speed: Evaluate the printing speed, particularly if your business demands high-volume label production, to ascertain efficient operations.
- Ink options: Consider the ink options available for the printer, as this can affect versatility and the types of materials you can print on.
Setting Up Your Workspace
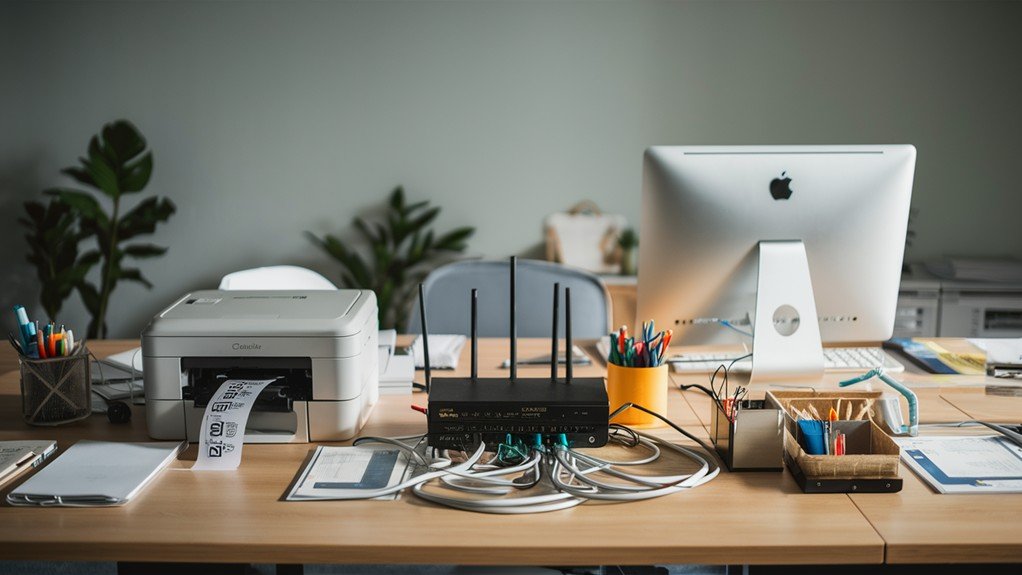
To set up your workspace for digital label printing, start by designating a dedicated area that's clean, well-lit, and minimizes exposure to dust and humidity.
This space should be specifically allocated for label printing and ideally positioned close to power sources and network connections, allowing for easy access and reduced setup complexity.
Key Components of Your Workspace
Utilize a sturdy work surface that can securely handle media and accessories, preventing damage during the printing process.
Organize storage solutions for label materials, ink, and printer accessories, which will maintain an efficient workflow and facilitate quick retrieval of necessary supplies.
Label Inspection and Quality Control
Designate a specific area for label inspection to guarantee quality control before labels are used or shipped.
This area should allow you to carefully examine labels for errors or defects, minimizing the need for reprints and assuring a high level of quality in your final product.
Installing and Configuring Printer
Installing and Configuring Printer
================================
Initially, connect your label printer to the same network as your computer – a essential step for successful integration.
To set up your printer, follow these steps:
- Access the Control Panel on your computer and navigate to the "Devices and Printers" or "Printers and Scanners" section.
- Select the "Add a Printer" option and wait for your operating system to search for available printers on the network.
- Choose the desired printer from the displayed list, following the on-screen instructions to complete the installation.
- After installation, configure the printer settings, verifying that the width and height match the label size and that the "Always use driver settings" option is activated in the printer properties.
After completing these steps, your label printer should be installed and configured correctly.
Make sure to test your printer to confirm it's working as expected. Proper installation and configuration are essential for seamless integration with your network and successful label printing.
Designing Labels for Printing
When selecting font sizes, choose between 8 and 10 points to improve legibility. Guarantee high-resolution graphics, at least 300 dpi, to maintain vibrant and sharp output on labels.
A clear hierarchy of information is likewise essential. Organize elements such as brand name, product details, and regulatory information in a logical manner for easy understanding.
In terms of visual design, choose colors that align with your brand identity while guaranteeing sufficient contrast between text and background.
Incorporate necessary compliance elements, such as:
- Barcodes
- Ingredient lists
These elements guarantee the label serves its intended purpose effectively and meets industry regulations.
A well-crafted label can make a significant difference in the general presentation of your product.
Label Printing Software Integration
Key Features to Evaluate
- Variable data printing: Look for software that allows you to integrate text, barcodes, and graphics into label designs.
- Automation capabilities: Choose software that offers automation features, enabling you to create and save designs for quick and efficient printing.
- RIP software integration: Confirm the software integrates with RIP software, such as Wasatch SoftRIP, for accurate color management and high-quality output.
- Business system integration: Verify that the software is compatible with your existing business systems and workflows to optimize efficiency and minimize errors.
Network Printer Setup and Installation
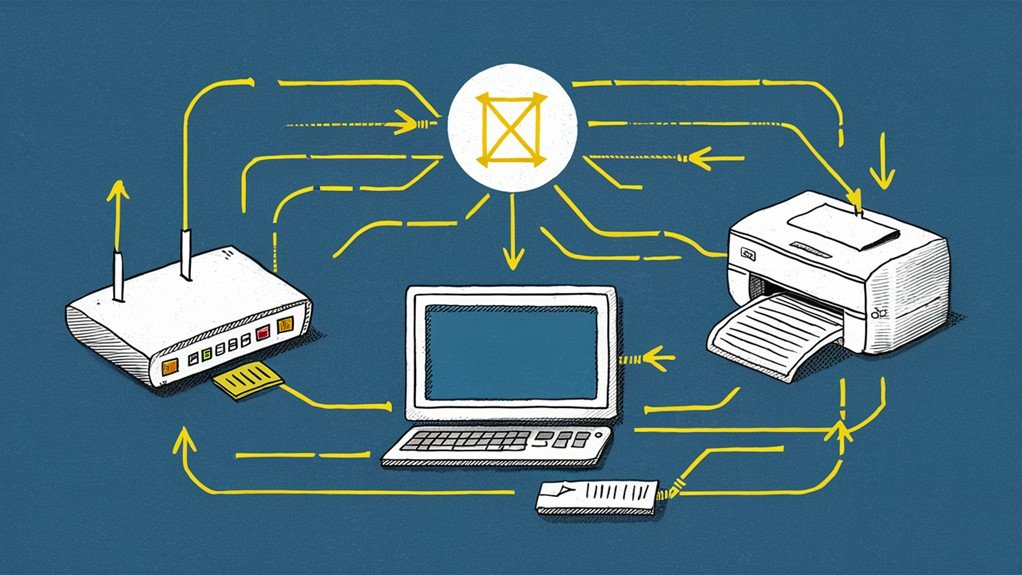
Connecting to the Network
To start, connect your label printer to the same network as your computer.
Once connected, access the Control Panel on your computer and navigate to the Devices and Printers or Printers and Scanners section.
For macOS users, open System Preferences and select Printers & Scanners.
Adding the Printer
Select the "Add a Printer" option and allow the operating system to search for available printers on the network.
Choose the desired printer from the displayed list, which may include:
- Network printers
- Wireless printers
- Shared printers
Follow the on-screen instructions to complete the installation process.
For macOS users, click the "+" button to add the network printer after it's detected.
Once installed, your label printer is ready for use on the network.
Troubleshooting Common Issues
With your network label printer successfully installed, it's likely you'll encounter some issues along the way.
Fortunately, most of these issues can be resolved with a few troubleshooting steps.
Some common issues that may arise include:
- Driver installation problems: Verify that the correct and updated drivers are installed from the manufacturer's website. This can often resolve issues with printer connectivity and functionality.
- Ink cartridge errors: Verify that the ink cartridges are properly seated and check for any protective seals that may not have been removed.
- Media feeding issues: Confirm that the labels are loaded correctly and that the printer's media guides are adjusted to fit the label width.
- Connectivity problems: Confirm that the printer is connected to the same network as the computer and check for any IP address conflicts.
Controlling Printing Options
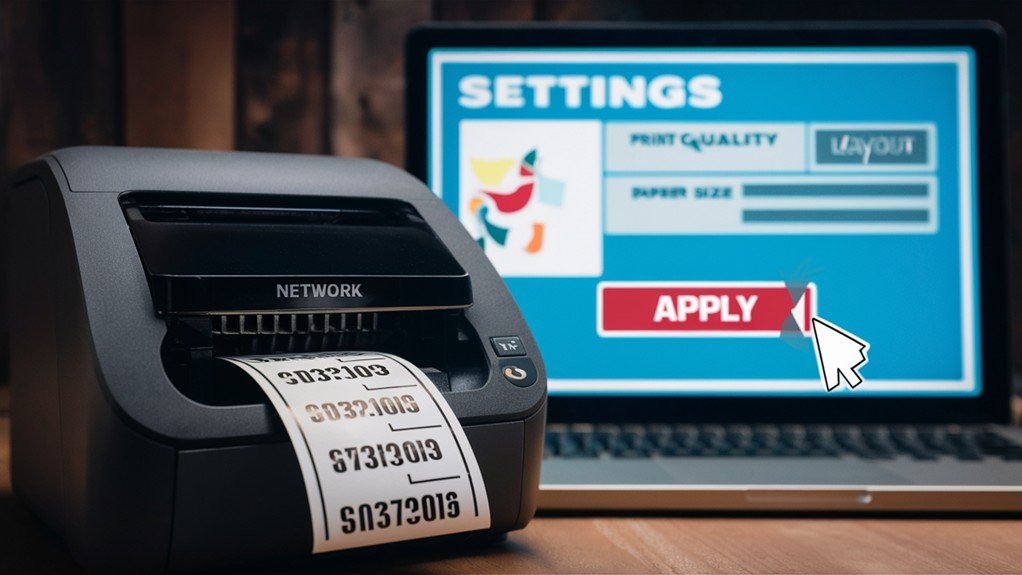
You can tailor your network label printer's performance to suit your needs by adjusting different printing options. By controlling these options, you can streamline the printing process, improve operational efficiency, and reduce errors.
Some of the key printing options you can control include:
- Number of copies: Specify the exact number of labels you need to print, eliminating waste and saving resources.
- Destination printer: Select the specific printer you want to use for the print job, ensuring that labels are printed on the correct device.
To control these printing options, you can use HTTP POST requests to trigger print jobs and specify the required settings. For example, you can include the number of copies and destination printer in the JSON payload of the POST request.
Furthermore, by subscribing to the $LL/status topic in MQTT, you can monitor the status of print jobs in real-time and troubleshoot any issues that may arise.
Frequently Asked Questions
How Do I Connect My Label Printer to My Network?
You're setting up your label printer. To connect it to your network, make certain it's network-capable and linked to the same network as your computer, then follow on-screen instructions to complete the installation process easily.
How Do I Setup a Network Printer Step by Step?
You'll start by connecting the printer to your network, then access your computer's Control Panel, select "Devices and Printers," choose "Add a Printer," and follow the on-screen steps to complete the setup process easily.
To share a printer on your network, start by accessing your Control Panel, then navigate to Devices and Printers. Select "Add a Printer" or right-click the printer icon to configure sharing settings, allowing others to access.
How Do I Connect My Label Printer to My Computer?
You connect your label printer to your computer by ensuring it's on the same network, then accessing your computer's printer settings, adding the printer, and following on-screen instructions to finalize the setup.
Contents
- 1 Understanding Digital Label Printers
- 2 Choosing the Right Printer
- 3 Setting Up Your Workspace
- 4 Installing and Configuring Printer
- 5 Designing Labels for Printing
- 6 Label Printing Software Integration
- 7 Network Printer Setup and Installation
- 8 Troubleshooting Common Issues
- 9 Controlling Printing Options
- 10 Frequently Asked Questions