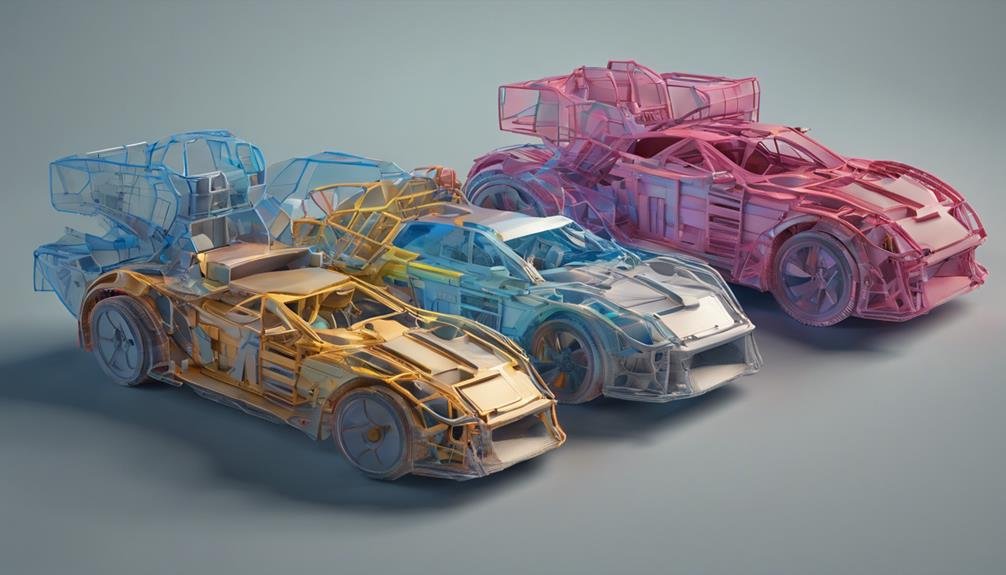
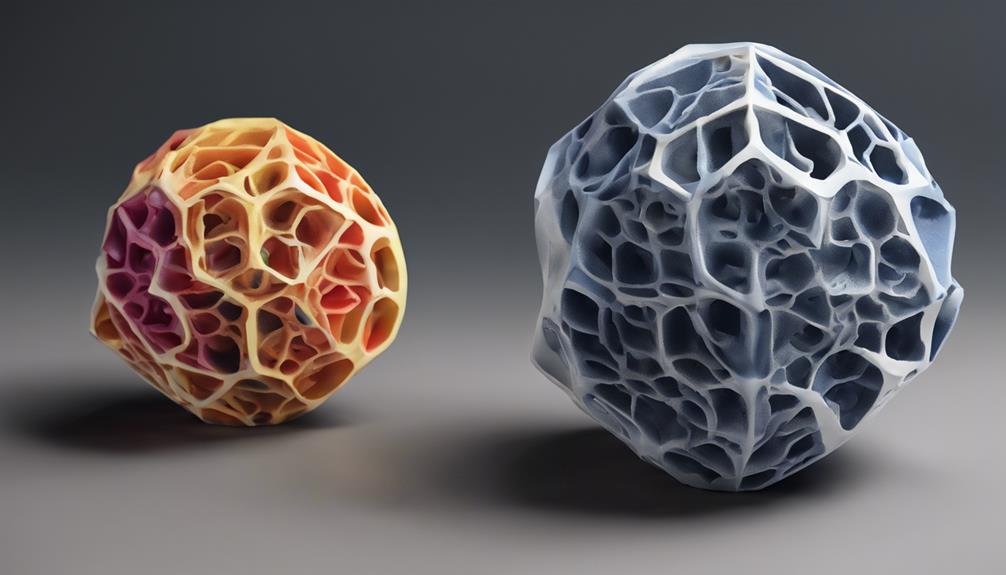
To achieve vibrant, multicolor 3D prints, you'll need to combine advanced 3D printing technologies, strategic material selection, precise design techniques, and meticulous printer calibration. Select filaments or resins that offer consistent diameter and quality for color accuracy, and experiment with different brands to explore a wide range of color options. Design your model with distinct color zones to avoid unsightly blends, and optimize layer height and resolution settings for improved color blending. Fine-tune your printer calibration for accurate color alignment and smooth color shifts, and don't forget to refine your post-processing techniques to create visually stunning and durable multicolor prints – and that's just the beginning.
Multicolor 3D Printing Technologies
For the advancement of vibrant, multicolor models, Materialise's ColorJet 3D printing technique stands out, utilizing a unique combination of sandstone powder and glue to bring your designs to life. This inventive process involves spreading sandstone powder, dropping colored glue, and combining different glues for different colors. The outcome is a multicolor 3D print that highlights the detailed intricacies and vivid hues of your design.
As you investigate the realm of multicolor 3D printing, you'll uncover the extensive possibilities it offers. With the ability to create customized and vibrant models, designers and entrepreneurs can tap into new opportunities. You can choose from a range of printers, such as TIKO 3D and PRUSA i3 MK3 with MMU v2, each with its distinct features and capabilities.
To maintain the longevity of your multicolor prints, don't forget to follow post-printing steps like superglue bathing and UV coating, which fortify and preserve your creations. By mastering multicolor 3D printing technologies, you'll open up a world of possibilities and elevate your designs to the next level.
Selecting Filaments and Resins
As you investigate the possibilities of multicolor 3D printing, choosing the appropriate filaments and resins becomes essential to achieving vibrant, accurate colors in your final product. When selecting filaments, consider using PLA, ABS, PETG, or TPU, which are compatible with color changes and ideal for multicolor printing. You can also examine specialty filaments like color-changing or translucent options to add unique visual effects to your prints.
| Filament Type | Characteristics |
|---|---|
| PLA | Biodegradable, renewable, and easy to print with |
| ABS | Strong, impact-resistant, and heat-resistant |
| PETG | Durable, flexible, and resistant to chemicals |
| TPU | Flexible, abrasion-resistant, and suitable for wearable devices |
When choosing a filament, make sure it has a consistent diameter and quality to guarantee color accuracy and a smooth printing process. Experimenting with different brands can also help you uncover a wide range of color options and achieve vibrant multicolor prints. Furthermore, consider using water-soluble support materials to facilitate the printing of complex multicolor designs with intricate details. By selecting the right filaments and resins, you'll be well on your way to creating stunning multicolor prints.
Designing for Multicolor Prints

When designing models for multicolor prints, you'll want to create distinct color zones to guarantee smooth color shifts and avoid unsightly blends. This is important, as it will impact the final appearance of your print.
To achieve this, consider the following:
- Assign specific colors to different parts of the model using slicing software to guarantee accurate color representation.
- Experiment with color combinations to spark your creativity and achieve visually striking multicolor prints.
- Optimize layer height and resolution settings in your 3D printer to improve color blending and accuracy.
- Incorporate post-processing techniques, such as sanding and polishing, to further improve the final look of your multicolor 3D prints.
Printer Calibration and Settings
You'll need to fine-tune your 3D printer's calibration and settings to make sure that your multicolor designs come to life with accurate color alignment and smooth shifts.
Calibration is key to guaranteeing precise color registration and seamless changes between colors. Adjusting your slicing settings is also vital, as it optimizes the printing process for smooth color shifts.
Remember to use high-quality filaments that maintain color accuracy and consistency throughout the printing process.
Practice makes perfect, so be sure to experiment with different filament changing techniques to minimize errors and ensure smooth color adjustments during printing.
By fine-tuning your printer's calibration and settings, you'll be able to achieve professional-looking multicolor prints that showcase your creativity.
Don't forget to review your Privacy Policy to make sure you're complying with any relevant regulations.
With these tips, you'll be well on your way to creating stunning multicolor prints that will impress anyone.
Post-Processing Techniques

With your multicolor 3D print fresh off the printer, it's time to refine its appearance and durability through a series of post-processing techniques that will make your model truly stand out.
You've invested time and effort into printing your multicolor masterpiece, and now it's time to take it to the next level.
Post-processing is a crucial step in creating a visually stunning and durable 3D print. Here are some key techniques to explore:
- Removing excess powder: Gently brush off any remaining powder from the printing process.
- Superglue bath: Soak your model in superglue to add strength and durability.
- UV coating: Apply a UV coating to protect your model from color fading caused by sunlight.
- Finishing touches: Choose between a matte or gloss finish to achieve the desired visual effect.
Frequently Asked Questions
Can 3D Printers Print Multiple Colors?
You're wondering if 3D printers can print multiple colors, and the answer is yes, but you'll face color limitations, like varying accuracy between printers, affecting the final outcome of your multi-colored masterpiece. Color printing technology has advanced in recent years, allowing for more precise and vibrant color reproduction. However, 3D printers still face challenges in achieving the same level of color accuracy as traditional 2D printers. As technology continues to improve, we can expect to see even more impressive capabilities in multi-color 3D printing.
How to Print Multiple Colors in Cura?
You're looking to print a stunning color gradient in Cura; to achieve this, you'll utilize the 'Pause at Height' plugin, specifying the layer for filament changes, allowing for a seamless color shift in your 3D print.
How Do You Print Two Colors on Ender 3?
You'll need to use the Pause and Swap Filament technique on your Ender 3, as it doesn't have Dual Extrusion capabilities. This method allows you to print two colors by pausing the print and manually swapping filaments at specific layers.
Is It OK to 3D Print Multiple Objects at Once?
You're wondering if it's okay to 3D print multiple objects at once, and the answer is yes! Batch printing can be a game-changer, saving you time and materials while enhancing productivity.
Conclusion
By now, you've learned the ins and outs of multicolor 3D printing, from selecting the right filaments and resins to designing and calibrating your printer for best results.
With practice and patience, you'll master the techniques outlined in this guide, discovering a world of vibrant, visually stunning prints that showcase your creativity.
As you continue to experiment and refine your skills, remember to stay up-to-date with the latest advancements in multicolor 3D printing technology to elevate your prints to the next level.